I met up with good friend Jon in Leeds recently for a photo-walk and darn good natter. As has become traditional on these occasions, Jon brought a camera from his collection for me to play with.

This time it was a Lomo LC-A 120 medium format camera and I’d come armed with a couple of rolls of Fomapan 100. As an aside I’m trying a new-to-me film/developer combination at the moment (Fomapan 100 and Pyrocat-HD) and it was this project rather than the light which drove my choice.

We met as always on the train, which I catch in Halifax and Jon in Bramley and upon arriving in Leeds made the, also-traditional, visit to a coffee shop. We like to start with a brew, a quick catch-up, a chance to load up the film cameras (always plural) and decide on a plan of action. I had my KMZ FT2 with a half roll of Adox CHS 100 II as well as my Rollei Magic (in 645 configuration) with a half roll of Fomapan 200 loaded. I planned to finish both rolls during the walk. So, with the Fomapan 100 in the LC-A 120 that Jon lent me I was ready. Jon was in colour-mode with a lovely Olympus XA4 (Lomo Metropolis if I recall) and a new-to-him Leica rangefinder (Kodak Colour 200) getting a maiden outing.
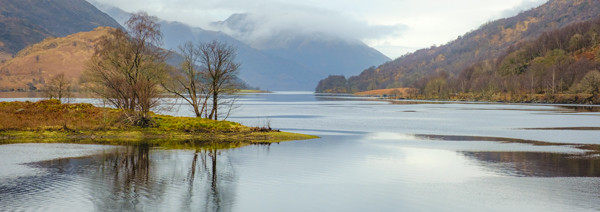
Our walks usually start and finish in the centre of Leeds but this time we opted for a linear walk. Along the Leeds and Liverpool Canal to Kirkstall Brewery Bridge at which point we would leave the canal and walk on to Bramley railway station where I could catch a train back to Halifax. It was going to be a longer walk than either of us had done for a while! Indeed, checking my pedometer before bed that evening I found that I’d covered around ten miles in total throughout the day.


Since first chatting in an online forum a few years back Jon and I have become good friends in real life too, initially through the shared interest of film photography. However, these days our conversation ranges widely, covering the domestic and current affairs as well as film photography. That to me is a sign of true friendship as is the fact that whenever we meet it’s like resuming a conversation you’d only finished ten minutes before … even though it’s been a few months since we last met in person.
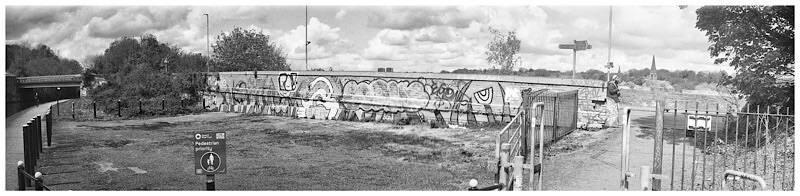
As with many urban waterways the Leeds and Liverpool canal offers up many interesting scenes to the photographer, not the least of which is the inevitable graffiti. It would’ve been rude not to make some images, even if I was using black & white rather than colour.

At Kirkstall we left the canal and forced ourselves to have a couple of pints in a local pub before the near-two miles walk (including around five hundred feet of ascent) that was needed to get me across town to the railway station. I saved £1 by catching the train from Bramley rather than Leeds although I’m not convinced that the uphill slog was worth the single pound sterling!

My impressions of the Lomo LC-A 120? Well, it’s definitely a fun camera to use. Basically it’s a medium format point and shoot camera that is lightweight and easy to carry. It doesn’t feel very robust, being largely plastic and as I’ve said very light. It’s definitely not a camera I’d throw loose in my shoulder bag.
Loading the film wasn’t the smoothest and it’s fair to say that the wind-on and spacing of negatives isn’t the most consistent. I lost the first frame on both rolls and varying parts of the second too.


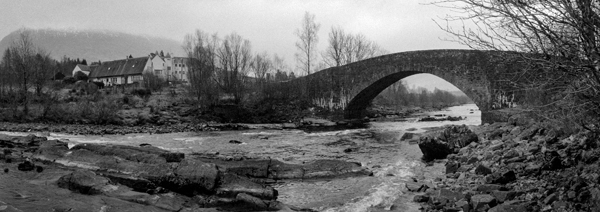
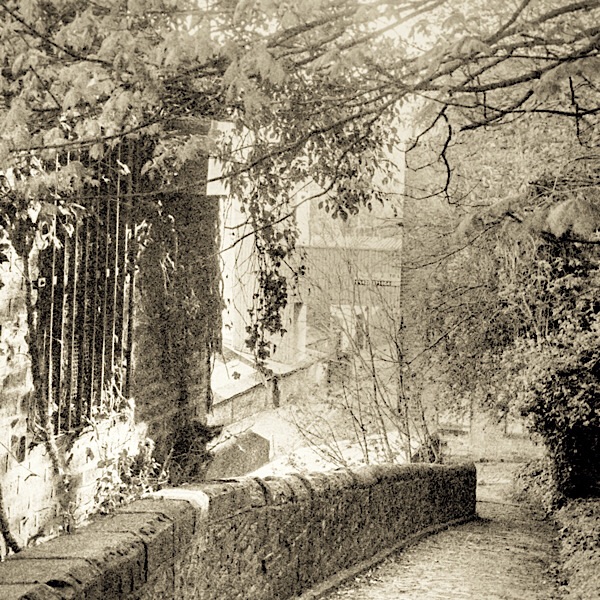
I’m not one to cry over lost frames, it’s part of the experience of film photography, but the first frame and a half that I lost from the first roll were disappointing as it was a scene I very much liked (see above). Luckily I liked the scene enough to photograph it with the Rollei Magic too.

One thing that very pleasantly surprised me about the LC-A 120 was how well the meter coped with everything I asked it to deal with. All of the frames are well exposed even when I probably was expecting a bit too much from the camera. From an exposure point of view I could have shared any of the images and not been embarrassed. A small aside here, the Fomapan 100/Pyrocat-HD experiment is going well!
All that said, I did enjoy using it even if at the end of the day I won’t be putting my hand in my pocket for the £450+ needed to buy my own.


So, another good day out with the camera. Good conversation, an enjoyable walk and a couple of lunchtime pints – what’s not to like? I hope you enjoy the images I created along the way.


You must be logged in to post a comment.