


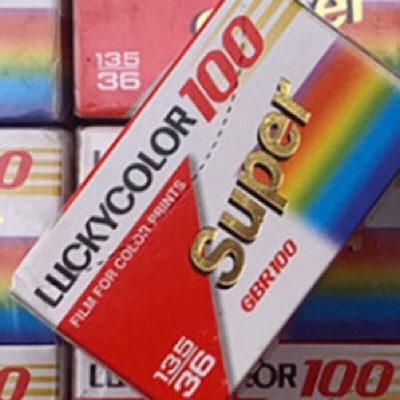
When I saw this roll of negatives hanging to dry I almost took them down and popped them in the waste basket. However, in the end I did pop them on a light box …

Despite deliberately over-exposing by up to two stops there was still very little to see on any of the negatives but looking at them on the light pad there was faint details on four so I copied them and imported them into Snapseed on my tablet. The results are as follows:


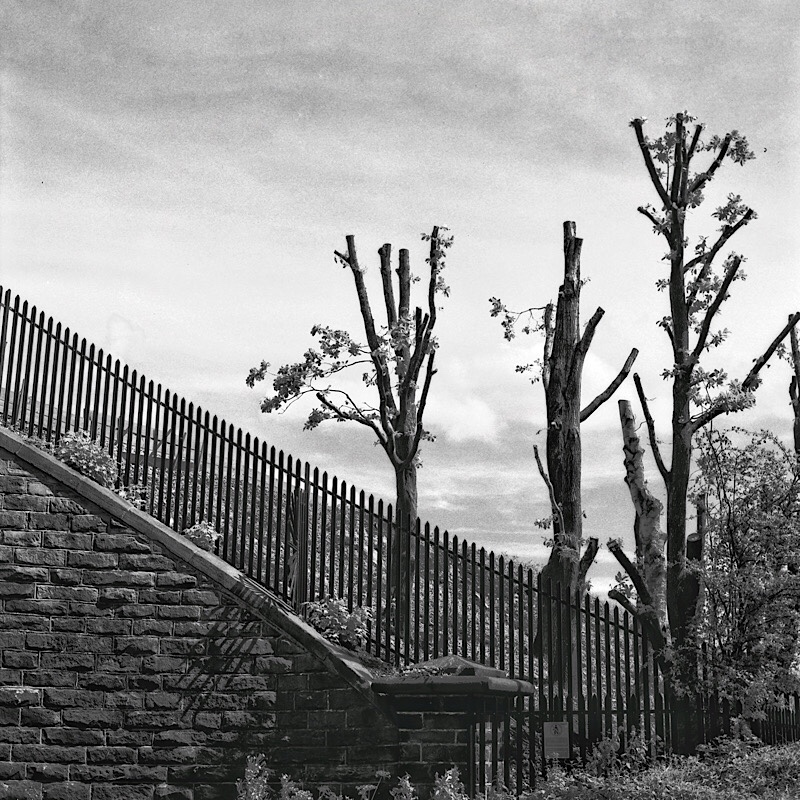
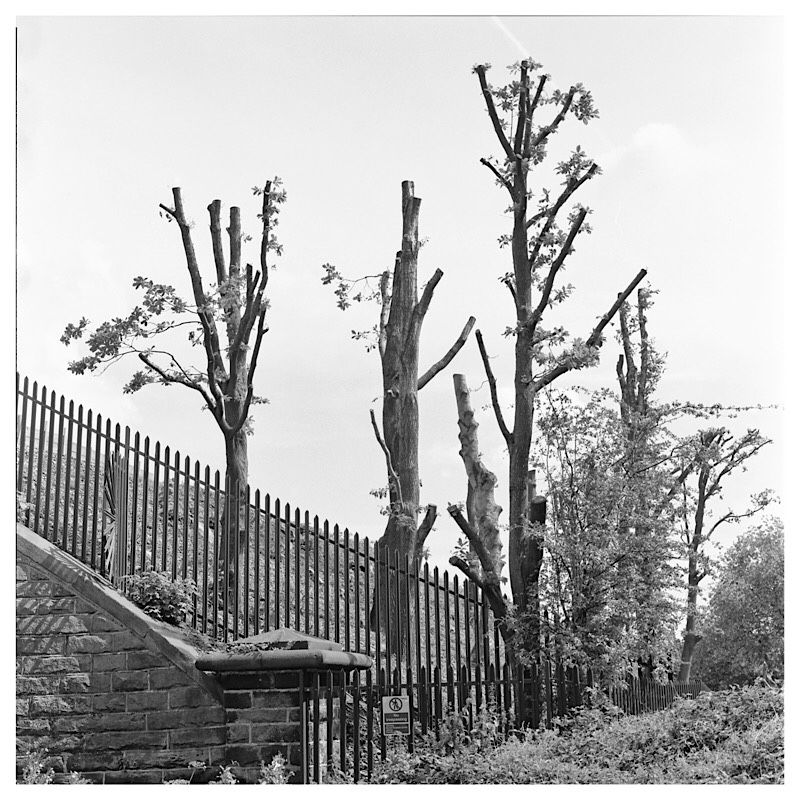
Fomapan 100 is a film I’ve never really got on with in 35mm in the past despite loving the look of the film in 5×4 sheets. Recently however, good friend Andy suggested trying the film in Rodinal (1+50) for nine minutes. Now Andy is more knowledgeable than I on developers so I of course did as I was told and put a couple of rolls through the KMZ FT-2 to try it out. A revelation. Punchy, crisp negatives and a smile on my face.

Barely a week later I found myself taking what I thought was a roll of (current favourite) Fomapan 200 out of the Horizon S3 Pro only to discover it was Fomapan 100. A quick word and I was again developing in what was fast becoming a favourite solution of Rodinal (1+50) albeit for eleven minutes rather than nine. I enjoyed the look enough to choose to deliberately expose and develop another roll in similar fashion when I next went out, this time in my currently ever-present Canon VT rangefinder camera.
Since first trying this film in Rodinal (1+50) with the two rolls exposed at ISO 200 I have since used a further eleven rolls exposed at ISO 100. I therefore present a selection from all these rolls below.


Perhaps I shouldn’t have chosen a teeny-tiny 35mm pinhole camera producing 24x24mm negatives for this one!

To quote the Chroma Camera website “The ‘Baby Cube’ is the smallest member of the Chroma Family, measuring just 90mm wide, 90mm high, 40mm deep, and weighing only 150g, with a film loaded! Baby Cube is a pocketable pinhole camera which can go anywhere with you.” I loaded the film several months ago to be honest and it took me a while to finish it. I can’t blame the camera at all though as I’ve produced some interesting images with it in the past.


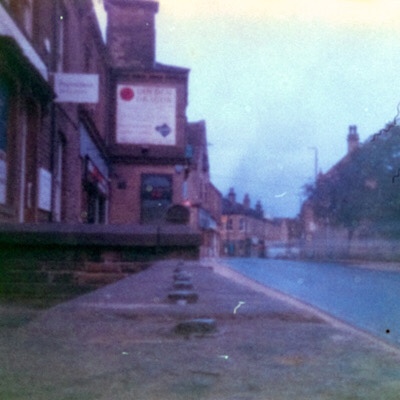


I have no idea how this film was stored prior to me receiving it but I stored it in my cellar from receipt up until loading up the Baby Cube. It then spent a few months moving between my desk, a bookcase and the occasional trip out. As you will see, we have images but they are a little meh! I think.
So, putting this one down to the film. As I mentioned above I’ve had good results from my Baby Cube in colour and black & white in the past so this one is down to experience.
I’m currently playing with a bag of expired, in most cases long-expired, colour film. It’s all C41 process so I’ve also resumed colour processing at home too. There are some colour motion picture film stocks though that use an alternative, ECN2, process. I’d read a lot about one particular film stock, Kodak Vision 3, so I decided to give it a try. I chose a 250 ISO daylight balanced version and bought it from Nik and Trick down on the south coast. They also offer an excellent ECN2 processing service too but only for films they’ve supplied so it made sense to opt for their film.

We were away for a few days back in June and so I popped the first roll, highlights from which form this post, into the camera and headed into the sunshine of Wrexham. Once I’d finished the roll, the film went back down to the south of England and a couple of weeks later (N&Ts ECN2 is a bespoke hand-processed service) I received my scans via email and the negatives followed a few days later in the post.

The first thing I noticed was that many of the images are over exposed. Was this the film or me? I strongly suspect the latter. I use a cold shoe-mounted light meter generally although do wing it occasionally. Insofar as I can remember I used the meter for these so it’s possible that I set an incorrect ISO and was therefore set up to over expose. Something to be careful of with roll two and I will be extra careful with metering.

A degree of over-exposure can be easily dealt with in post-production and so I made a rare trip to the computer and looked at the images in Photoshop. My approach to post processing on the computer, or tablet for that matter, is simple – if it takes more than a couple of minutes to process then it’s not worth doing. I used to spend hours processing digital images and thoroughly enjoyed the process but not any more. Thankfully, a quick tweak was all these needed.

So, exposure issues aside (probably user error but I’m keeping an open mind) I have to say that overall I do like the colour tones this film produced. I will copy some of the the negatives myself and process them through NLP in Lightroom to see whether I can replicate the scans supplied by Nik & Tricks’ professional set up. If I can it might save me a few pounds on scanning costs (I went all out and paid for large TIFFs for this first roll).

As the image above shows, a touch of over-exposure might not be such a bad thing with this film. Compared to the rest of the roll this looks to have received the “correct” exposure and the resulting image is not as clean as the over exposed frames. I’m looking particularly at the shadows and to some degree the skin tones. I will perhaps try rating the second roll at 200. I might also use one of my Canon SLRs to take advantage of the excellent onboard auto-exposure mode.


I guess the key question is would I use this film again? One answer would be “yes” … I’ve three more rolls in the cellar! Another might be a cautious “probably”. I do like what I’ve seen so far but one roll, with problematic exposure, isn’t enough to form an opinion (I know, some YT influencers can do it on one roll). Roll two is loaded into the Canon EOS 1 and unless I read something to the contrary I will probably rate it at ISO 200. Wish me luck!
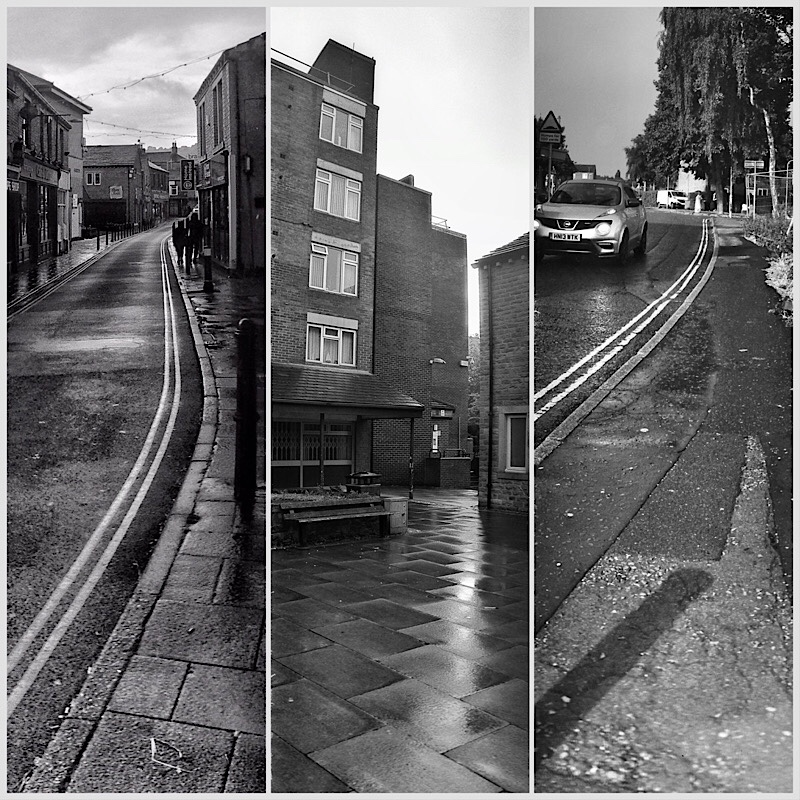
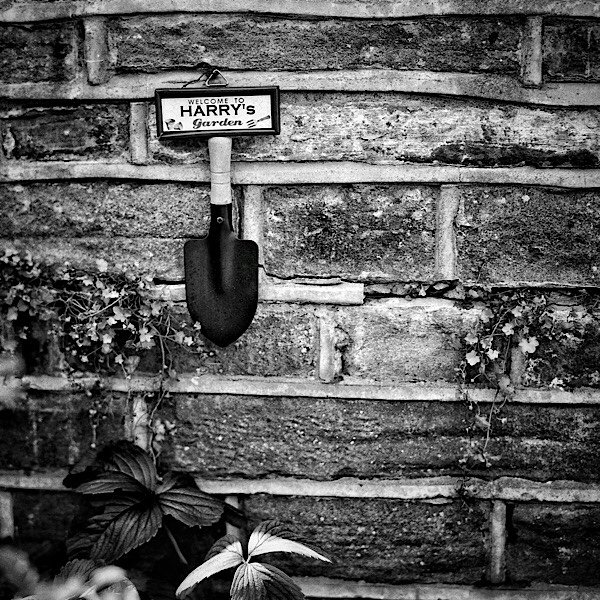
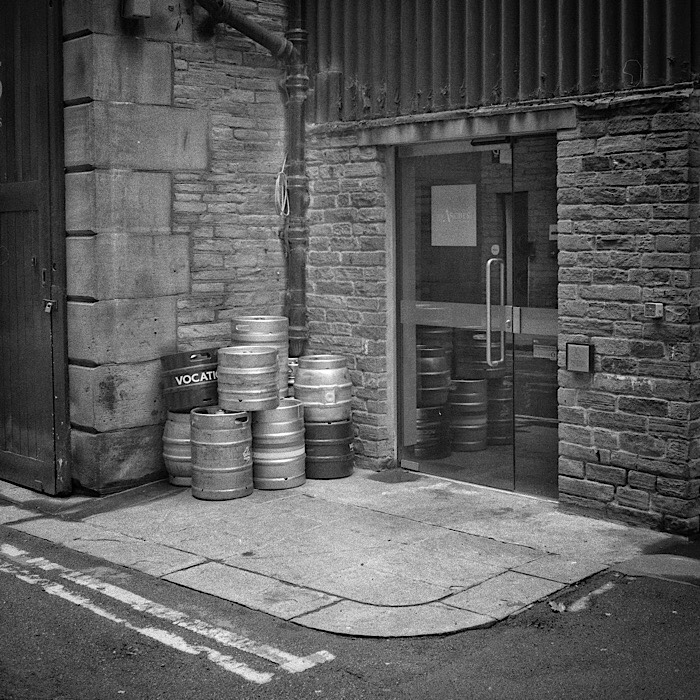
What it says on the tin. Half a dozen images from a short walk in the rain.


It’s been a while since I had a good stoat around the Dean Clough area of Halifax but the opportunity arose at the start of July and I didn’t need asking twice! The occasion was a meet up with long-time Twitter correspondent Jon (@IGWM_Leeds); a chance to drink tea, have a natter and take a few pictures. We managed all three with ease.

I met Jon at the railway station and we immediately headed for what I consider to be the centrepiece of Halifax town centre – The Piece Hall. I could do worse than quote from the Piece Hall website:
The Grade I listed Piece Hall, Halifax is a rare and precious thing, an architectural and cultural phenomenon which is absolutely unique. It is the sole survivor of the great eighteenth century northern cloth halls, a class of buildings which embodied the vital and dominant importance of the trade in hand woven textiles to the pre-industrial economy of the West Riding of Yorkshire, from the Middle Ages through to the early nineteenth century.
https://www.thepiecehall.co.uk
Jon hadn’t seen the Piece Hall since it’s relatively recent (2017) makeover and so it was a logical first port of call. A pot of tea in Loafers was followed by a leisurely stroll through the historic venue and down towards the Dean Clough area. We’d both opted for rangefinders and I had with me the Canon VT (paired with a 35mm lens Jon had brought along for me to use) and my venerable Leica IIIf with its ever-present Elmar 50mm lens. Expired colour film in the Leica, fresh black & white in the Canon.

Next stop was the North Bridge car park from where I’ve recently made a series of large format and pinhole images. Jon was intrigued to see the location in real life but we didn’t linger as I wanted to show him The Snicket. I’ve written about it many times over the last few years and shared many images and Jon was also familiar with Bill Brandt’s iconic image.

We then followed a route through the Dean Clough complex that I’d sketched out in my head beforehand. I also included a couple of less obvious locations that I knew Jon had visited and photographed several years before. During this we also fitted in another pot of tea and of course plenty of conversation.


Thank you for your company Jon … here’s to the next time!

Whilst I’ve not been very active on the blog recently I have been busy with both my collection of cameras and also with film processing. As has been mentioned before, I’ve also returned to processing my own colour films here at home. With around a dozen C41 colour films processed recently I’ve started to zero-in on a standard workflow that fits with my established way of working. This time around, rather than chop and change, and remember I’ve processed colour before using three or four different kits, I have settled on the Bellini C41 kit as my go-to, learn-it’s-capabilities, processing kit of choice. My workflow, tweaked from the original manufacturer’s guidelines and subject to further tweaks as the film count grows, is shown in the chart below. I have this printed and laminated and refer to it whilst processing films.

There’s a lot of talk online about the need for greater temperature control and how colour development needs a more precise adherence to timings etc. Whilst I understand that to a degree I think it overstates the complexity of C41 processing. Yes, temperature control is important, but it’s not difficult. Yes, like any process timings are critical too but nothing that someone who is a competent B&W developer should worry about. The Bellini kit consists of three time-critical elements which are carried out in sequence and take between 6:15 and 7:00 minutes using my workflow above.
Bringing water and chemicals to temperature is a matter of method, order and patience. I use a sous-vide container and a sous-vide machine to produce a water bath that I keep at a constant 39°. The water starts a fair bit hotter when I first set the apparatus up as I draw it from our hot water supply. The chemicals, in their bottles, sit in the water bath to warm up whilst I get everything ready. Film(s) in tank(s), jugs ready for the chemicals and a clear working area are the final part of the jigsaw.

The three chemicals go into the bath in their regular storage bottles and I put a thermometer in the developer. The developer needs to be at 38° when you put it into the tank so I wait until I’m ready to start before pouring the chemicals into the jugs. Bleach and Fix need to be kept at 32-38° so they go in their jugs first followed by the developer which is then immediately poured into the developing tank as the process starts. The short development time means that the Bleach and Fix remain well within the permitted temperature range whilst sat in their jugs (I have checked this many times with a thermometer as I work).

The key for me is consistency of method, as indeed is the case with black & white development in my view. Once the tank is warmed I measure out the chemicals as described and then immediately start the process. No hesitation, no deviation, I simply follow the timetable ignoring everything else around me (including parcel deliveries on more than one occasion). Once the developer is in and the initial agitation has been done there is a 30 second window during which I put the stabiliser fluid into the water bath to warm that through too. Not until the second stabiliser bath has been poured in do I stop and start pouring chemicals back in to bottles etcetera. If I’m doing more than one tank of colour film then the chemicals need to go back into the water bath to bring them back to 38° but I resist the temptation to try and be clever and simply wait until the stabiliser baths are underway before worrying about that aspect.

A word on stabiliser. There’s plenty of it in the Bellini kit so use it. I very gently agitate the first stabiliser bath by inversion for the full minute which then gives us a tank full of bubbles. Once that has been emptied out into a jug I add more stabiliser to the tank but let this one stand. I then repeat this between six and eight times before the film goes upstairs to hang in the bathroom until it is dry.
The other element to working with colour film is digitising the negatives and producing images; mostly for social media these days. This was something I was always happy to let the processing lab do as I knew that they would provide far more accurate colour rendition than I. However, if I am going to continue to save money by developing my own colour film I will need to evolve an appropriate workflow for getting the resultant negatives into a viewable condition. This is ongoing but I’m slowly evolving a method that works. It’s not yet a failsafe process but I am working on it and progressing with each film that I digitise.

I have no intention of moving into colour printing due to my slight colour blindness; my darkroom is a strictly black and white zone.

I think that what I’ve just written pretty much covers my current process and thoughts on the subject of home developing colour films using a C41 kit. I am experimenting with expired colour films as part of this project too and no doubt will share some of my experiences in due course. I am going to continue with the project as we move through Summer and in to Autumn so will share further thoughts in the Winter I suspect.

You must be logged in to post a comment.